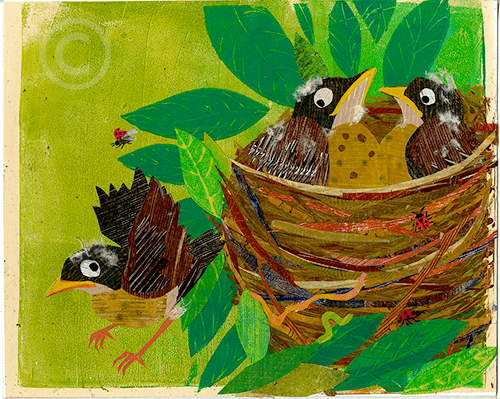
This Is the Nest That Robin Built was the first of my books that I illustrated by by combining gelatin printing and collage. In my quest to find a style that maintained the strong colors and textures that were always part of my art but wasn't as physically demanding as pulp painting (lugging 5 gallon buckets of pulp around) I tried numerous techniques. While playing with techniques that I planned to teach at Highlights, I discovered gelatin printing and how much texture could be created just by layering paint and scraping paint off of the gelatin paint before printing. Taking those papers and cutting them up to create collage illustrations added even more depth and texture.

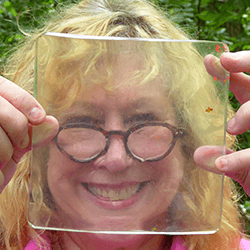
For the past few years, I have taught a technique workshop with Ashley Wolff at Highlights in Pennsylvania. In looking for techniques, I came across gelatin printing, a form of monoprinting. Prior to bookmaking, I took classes in printmaking and I was excited to try my hand at it again. Printmaking is now the basis of my illustrations.
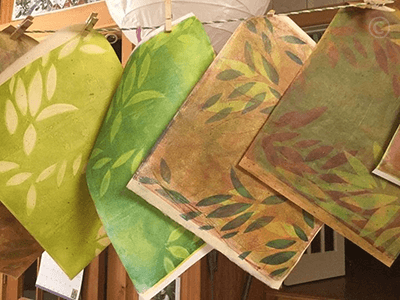
Gelatin printing is done on a plate made of gelatin. There are now commercial gelatin plates made of a new material that works just like a homemade gelatin plate, but these commercial plates are sturdier.
Using a brayer, I roll acrylic paint onto the plate. Using various tools, stencils, or my fingers, I make patterns in the paint. I then place rice paper or some other lightweight paper over the plate and transfer my image to the paper. Often, I overprint—print an image over another color and image to create more complex textures.
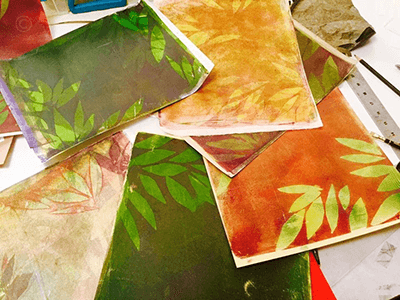
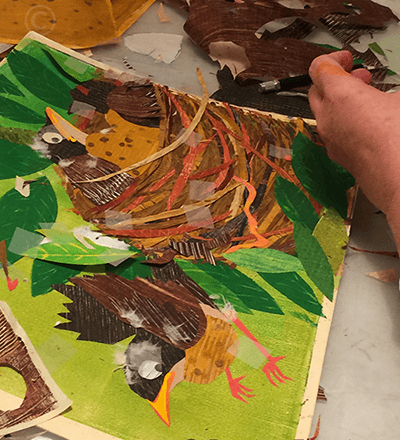
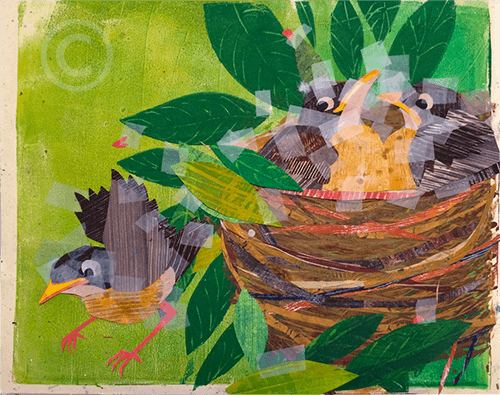
I then tear and cut these papers and arrange them to create illustrations. After using repositionable tape to try different arrangements, I glue the pieces into place on gelatin printed backgrounds.
This technique allows me more freedom than pulp painting. I took me awhile to get the hang of it—lots of stops and starts. I have drawers overflowing with printed papers!
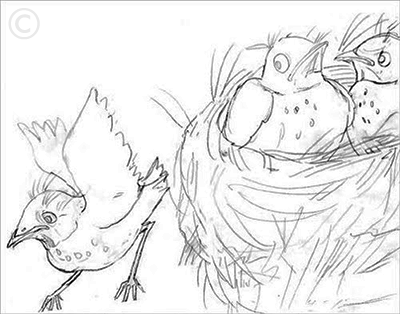
After the papers dry, I cut pieces to create the images that I roughly sketched before beginning. I tape the papers in place with moveable tape, shifting them around until they create the effect I'm looking for. Once I'm satified with the composition, I glue everything in place.

A video will be added soon!


